On this page
Fabrication guide for SimpleFOCShield v4.x
Here is a quick guide to fabricating the Arduino SimpleFOCShield version v4.1.
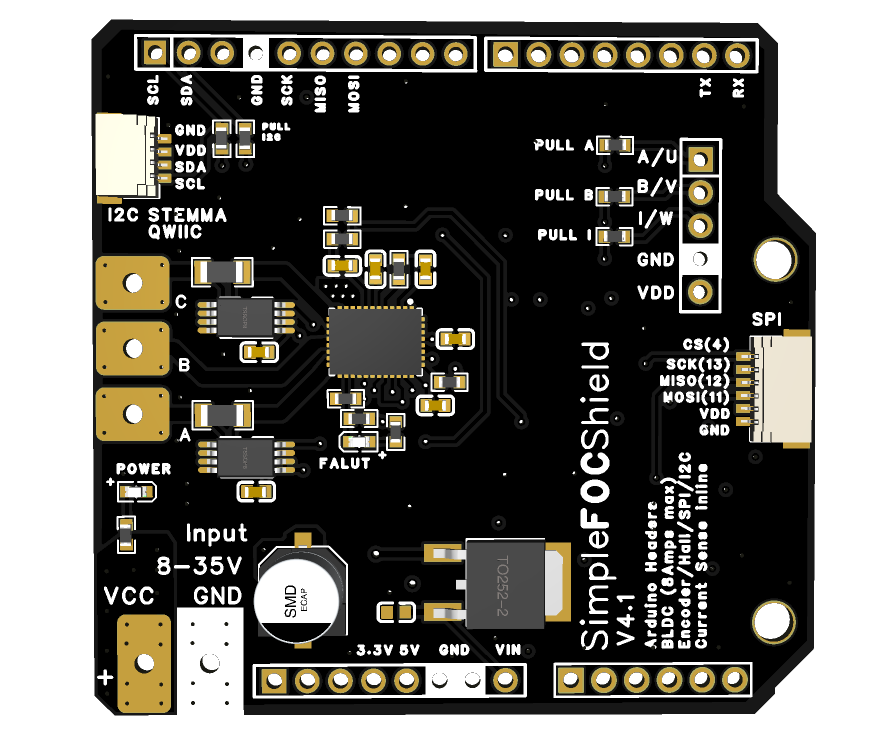
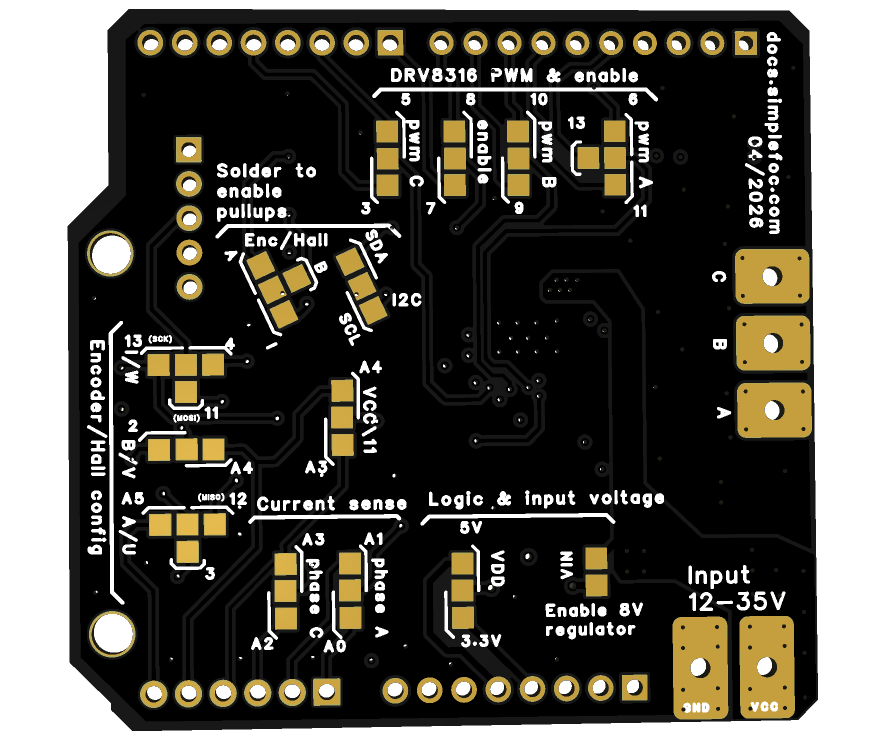
📢 Official EasyEDA Pro project here
Board releases
| Version | Link | Release date | Comment |
|---|---|---|---|
| SimpleFOCShield v4.1 | release v4.1 | 04/26 | - Official v4 release - Transition to DRV8316 - Transition to INA240 amplifiers - Power supply voltage sensing - QWIIC/STEMMA QT and SPI JST connectors |
The GitHub repository contains:
- Schematic - PDF file
- Gerber - Gerber and NC drill files
- Bill Of Materials (BOM) - CSV file, with LCSC part numbers
- Pick and place - CSV and Excel files
- 3D model - STEP and OBJ files
- PCB design project - EasyEDA Pro
PCB fabrication and assembly service - recommended
The v4 is not well suited for hand assembly. The DRV8316 comes in a 0.5mm pitch VQFN-40 package with an exposed thermal pad underneath, which needs a reflow oven or a hot-air station, and the passive components are 0603. A PCB fabrication and assembly (PCBA) service is the easiest way to get the board made.
The design is made in EasyEDA Pro and all the components in the BOM have LCSC part numbers, so the simplest way is to order from JLCPCB:
- Download the Gerber files, the BOM and the pick and place file from the GitHub repository, or open the EasyEDA project and order directly from it.
- Upload the Gerber files (as a zip) on JLCPCB. The board has 4 layers, the default settings are fine for the rest.
- Enable PCB Assembly, on the top side.
- Upload the BOM and the pick and place file, and check the component placement in the preview, especially the orientation of the DRV8316, the INA240s and the LEDs.
- The pick and place file also lists the configuration solder pads (
SC...designators) on the bottom side. They are only copper pads, not components, so don’t place any parts for them.
- The pick and place file also lists the configuration solder pads (
- Place the order.
Other PCBA services work as well, using the Gerber, BOM and pick and place files, but you may need to find replacements for the LCSC parts.
Through-hole parts
The BOM only contains the SMD parts. The Arduino stacking headers and the encoder header are through-hole parts you solder yourself, as are the terminals for the motor and power supply wires. You can also ask the PCBA service to mount the headers.
Components
The main components of the board:
| Component | Part | Description |
|---|---|---|
| Driver | DRV8316CTRGFR | Integrated 3-phase driver, 8A peak, hardware variant (no SPI) |
| Current sensing | 2x INA240A2PWR | Current sense amplifiers, gain 50 |
| Shunt resistors | 2x 5mΩ, 1206 | Inline current sensing |
| Voltage regulator | L78M08CDT-TR | 8V regulator for powering the MCU board |
| Connectors | JST SM06B-SRSS-TB, SM04B-SRSS-TB | SPI and QWIIC/STEMMA QT connectors |
| Bulk capacitor | 100uF, 35V or more | Power supply decoupling |
The full list with all the passives is in the BOM file in the repository.
Fully assembled versions
Order your own fully tested and assembled Arduino SimpleFOCShield from our shop.